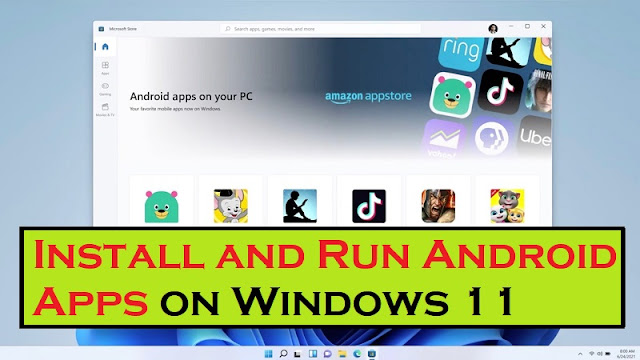
Microsoft has been working on bringing Android apps support to Windows for quite some time now. The effort, internally known as Project Latte, was one of the highlights when the company announced Windows 11 in June.
The Redmond giant, however, had to delay the feature, which is why we didn’t see it in action when Windows 11 launched earlier this month. Microsoft has now released a preview of Windows Subsystem for Android in Windows Insider channels. In this article, we have detailed the steps to install and run Android apps on Windows 11.
READ MORE:
- How to send large files over the internet | Free Cloud Service
- How to Trace E-Mail through E-mail Header Investigation?
- 10+ Interesting Notepad Tricks and Hacks To Do | You Cannot Miss!
- How Elliot Hacked the Prison? | Mr Robot Hacks!
- How to Shut Down your Android Device by Making Call from Another Phone?
- Guide To Remove Or Block Ads From Any Android Apps With Or Without Root!
- How To Transfer Contact From iphone To Gmail?
How to Install and Run Android Apps on Windows 11
before we move ahead, make sure you check the requirements section to ensure your Windows 11 PC is eligible to test Android apps right now. We’ve also mentioned steps to manually install the package and possible fixes if you run into installation errors. With that said, let’s get right into it!
Requirements:
1. Windows 11 Insider Beta Channel: To be eligible to install and run Android apps on Windows 11, you should be running Windows 11 in the Beta channel. To be specific, you should be on Windows 11 22000. xxx series builds.
If you are not sure about your build version, open the Run dialog using the Windows 11 keyboard shortcut ‘Win+R’, type winver, and hit Enter key to view your current Windows 11 version.
If you satisfy the above criteria, you should now make sure you have enabled virtualization from your PC’s BIOS/ UEFI. You can check our linked guide to enable virtualization on Windows 11.
To check if virtualization is enabled on your PC, open Task Manager using the keyboard shortcut Win+Shift+Esc. Then, switch to the Performance tab and check if it says “Enabled” next to “Virtualization” at the bottom right.
2. Check Microsoft Store Version: After ensuring both of these, check your Microsoft Store version. Microsoft says you need Microsoft Store version 22110.1402.6.0 or higher to run Android apps.
To check the Microsoft Store version, open the app, tap on your profile picture, and choose App Settings and you will see it at the bottom. You can update Microsoft Store by clicking the “Get updates” button from the Library section.
3. Set Windows 11 Region to US: You should also check if your PC’s region is set to the US. if not, you can set your Windows 11 PC’s region manually. Navigate to “Settings >> Time & language >> Language & region >> Country or region” and choose “United States” from the dropdown list.
Lastly, you need a US-based Amazon account to test Android apps from Amazon Appstore. The catalog is fairly limited at the moment, and it includes only around 50 apps, including Kindle, Khan Academy Kids, and United Airlines. However, you can enable developer mode and sideload apps of your choice.
How to Install and Run Android Apps on Windows 11
Here are some steps to How to Install and Run Android Apps on Windows 11. step by step follow me:-
STEP1: To get started, you should first download Windows Subsystem for Android from the Microsoft Store. Use the below direct link to access the Windows Subsystem for Android listing.
STEP2: You will now see a green “Install” button if your PC is eligible. Click on it and follow the on-screen instructions to download and install Windows Subsystem for Android. As always, it mostly involves clicking ‘Next’ and ‘Download’ on the last screen.
Note: You will see a “Get” button if you have already installed WSA in the past and then uninstalled it. We did that for the purpose of this tutorial and are reinstalling it right now.
STEP3: Microsoft is currently rolling out version 1.7.32815.0 of Windows Subsystem for Android. After installing the app, here’s what the Windows Subsystem for Android’s home screen looks like:-
STEP4: Now that you have installed Windows Subsystem for Android, it’s time to install the Amazon App Store. Use this direct link to download and install Amazon Appstore on your Windows 11 PC. If your PC is eligible, you will see an “Install” button below the app’s name.
STEP5: Now, After installing the app, sign in to start downloading Android apps from the Amazon Appstore on your Windows 11 PC. As mentioned above, you will need a US-based Amazon account to access the app store.
STEP6: After logging in, you get access to Android apps currently available in the store. It might look a bit different on your installation as this is the mobile version of the app.
STEP7: After logging in, you get access to Android apps currently available in the store. It might look a bit different on your installation as this is the mobile version of the app.
Now, Run Your Favourite Android Apps on Windows 11 with Ease!
Microsoft testing Android apps on the Windows 11 build 22000 series hints that we could get official support for Android apps by the end of the year ahead of next year’s feature update. While Microsoft adds finishing touches, we hope this article helped you get an early taste of Android apps on Windows 11.
LAST WORD: This is enough for now, we will meet very soon with a new and very interesting article. Thank you so much to read my article post, if you like this and want to get daily updates, please join us on the social network platforms. I wish you all are always happy and stay tuned with us as always.


